


Echeveria Care Guide
|
|
Time to read 4 min


|
|
Time to read 4 min
Echeveria are compact, beautifully structured, and remarkably easy to care for houseplants, hailing from the rocky landscapes of Central and South America, particularly Mexico. These rosette-forming succulents have evolved to survive in arid conditions, storing water in their thick, fleshy leaves. With over 150 recognised species and countless hybrids, there’s no reason why they’re one of the most popular succulents here in the UK!
Whether you’re new to succulents or an experienced collector, this guide will walk you through everything you need to know to keep your Echeveria plant happy and thriving.
Fun fact: The Echeveria genus is named in honour of Atanasio Echeverría, an 18th-century Mexican artist botanist who contributed to the study of native flora.
Not as often as you think! Overwatering is the number one killer of succulents, so the golden rule is to water only when the soil is completely dry.
In summer, this might mean watering every 10-14 days.
In winter, reduce watering to once a month.
Always water at the base of the plant, avoiding the leaves to prevent water from sitting on their leaves as this can make them more susceptible to rot.
Pro tip: If you’re unsure whether to water, wait a few more days. Echeveria prefer drought over drowning!
Echeveria love the sun! To keep their compact shape and vibrant colours, give them bright, indirect light for at least six hours a day. Place them near a south or west-facing window is ideal, just making sure that they do not burn in the peak of summer.
If growing under artificial light, opt for a full-spectrum LED grow light to support healthy growth.
Yes, but generally only in the warmer months. In winter, it’s best to bring them inside or place them in a greenhouse. We recommend keeping them indoors all year round to prevent stress and maintain consistent growing conditions.
Echeveria prefer dry air and don’t require additional humidity. Keep them in a well-ventilated space and avoid misting, as excess moisture can lead to fungal issues and rot.
If growing in a high-humidity environment (for example, due to growing tropical plants in the same area), use a terra cotta pot to help wick away excess moisture from the roots.
Repotting your Echeveria every 1-2 years helps refresh the soil, prevent root rot, and encourage healthy growth.
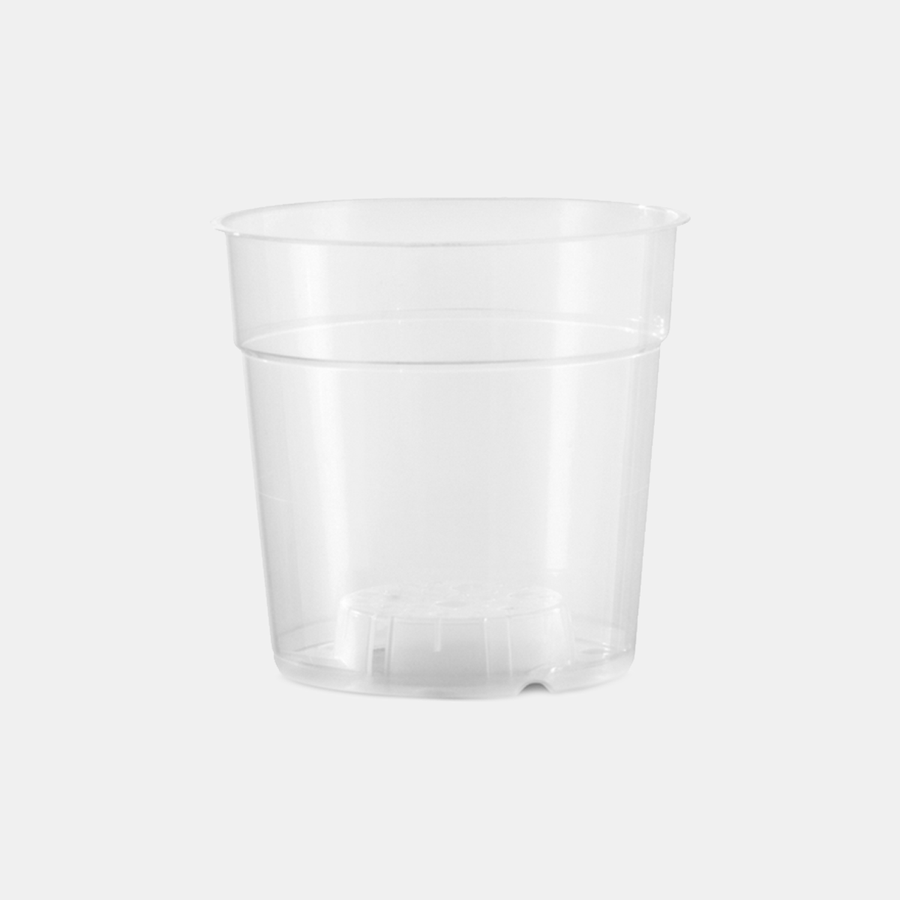
You should select a pot that is slightly larger than the current one to allow for growth. Ensure it has drainage holes to prevent excess moisture buildup, which can lead to root rot.
Terra cotta or unglazed ceramic pots are ideal as they help absorb excess moisture.
A well-draining succulent or cactus mix is essential. We highly recommend our GrowTropicals Desert Mix it’s designed for all round use with cacti and succulents. The light and airy substrate allows for maximum drainage with some water retention to ensure good root growth without root rot. It's composed primarily of calcined molar clay, fine bark, sand and pumice.

Once repotted, wait 3-5 days before watering to allow the roots to heal and reduce the risk of rot.
Propagating Echeveria is a rewarding and straightforward process that can be done through leaf cuttings, offsets, or stem cuttings. The most common and easiest method is leaf propagation, where a healthy, plump leaf is gently twisted off the mother plant, ensuring a clean break at the base. The removed leaf should be left to dry for a few days until the cut end calluses over, preventing rot. Once calloused, it can be placed on well-draining soil in a bright, indirect light location. Within a couple of weeks, tiny roots and a new rosette will begin to emerge at the base of the leaf. Light misting every few days keeps the propagation process on track, but excessive watering should be avoided to prevent rot. Eventually, the original leaf will wither as the baby Echeveria takes root, signalling the time for careful transplantation into a pot of its own.
Another effective method is offset division, where small rosettes, known as "pups," grow at the base of a mature Echeveria. These can be carefully separated from the parent plant once they have developed their own roots. Gently detaching the offset and planting it in dry, well-draining soil allows it to establish itself with minimal stress. Similarly, stem cuttings can be used for leggy Echeverias (where the elongated top is cut off, left to callous, and then replanted in fresh soil to develop new roots.)
Pests: Watch out for mealybugs which can show through as white, cotton-like clusters. We recommend treating with neem oil or insecticidal soap.
Drooping leaves is usually a sign of underwatering or low light exposure. Give the plant a thorough soak and let it dry out completely before watering again. Additionally, try moving it to a brighter spot in your home.
Puckered leaves is another sign of dehydration. Adjust your watering schedule and check to see if the roots are healthy to maximise water intake.
If you notice mushy leaves on your Echeveria, it is a clear indicator of overwatering or root rot. Remove affected leaves and let the plant dry out before watering again.
Leggy growth can be due to lack of bright light. Without the right lighting, Echeveria will grow to be leggy because they are reaching out for the light which loses their compact aesthetic. Consider adding a grow light or moving the plant to a sunnier spot. New leaves only grow from the rosette of the echeveria, so if there is a lot of exposed stem on show, you can propagate the stem and repot the bushier new growth.
Looking for a new addition to your collection? Discover our full range of Echeveria and essential plant care products to keep your indoor jungle flourishing. Whether you need premium soil, fertiliser, or stylish pots, we’ve got you covered.
Got a plant question? We’re here to help! DM us on socials or email our expert team at hello@growtropicals.com for personalised advice.
Read our full plant care A - Z here.